Kali Linux in the cloud using AWS

I am a Software engineer with the mindset of providing cloud-based solutions with event-driven and test-driven architecture to real-world problems. I build and maintain backend systems with the python framework Django and provide seamless relationships between development and operations processes.
Hey friends, in this article I would be sharing how to create a Kali Linux virtual machine (VM) in the cloud using AWS. There are several ways to get your hands on Kali Linux, each way has its pros and cons, one of the easiest ways to go about this is creating a VM in the cloud pre-installed with Kali Linux. You can connect to this VM remotely using an SSH client on any operating system, be it Windows, Linux, or Mac.
Note that you must have an AWS account set up for this. If you don't have, that's not a problem you can create a free tier account here. If you have completed the account creation process we can move on from there.
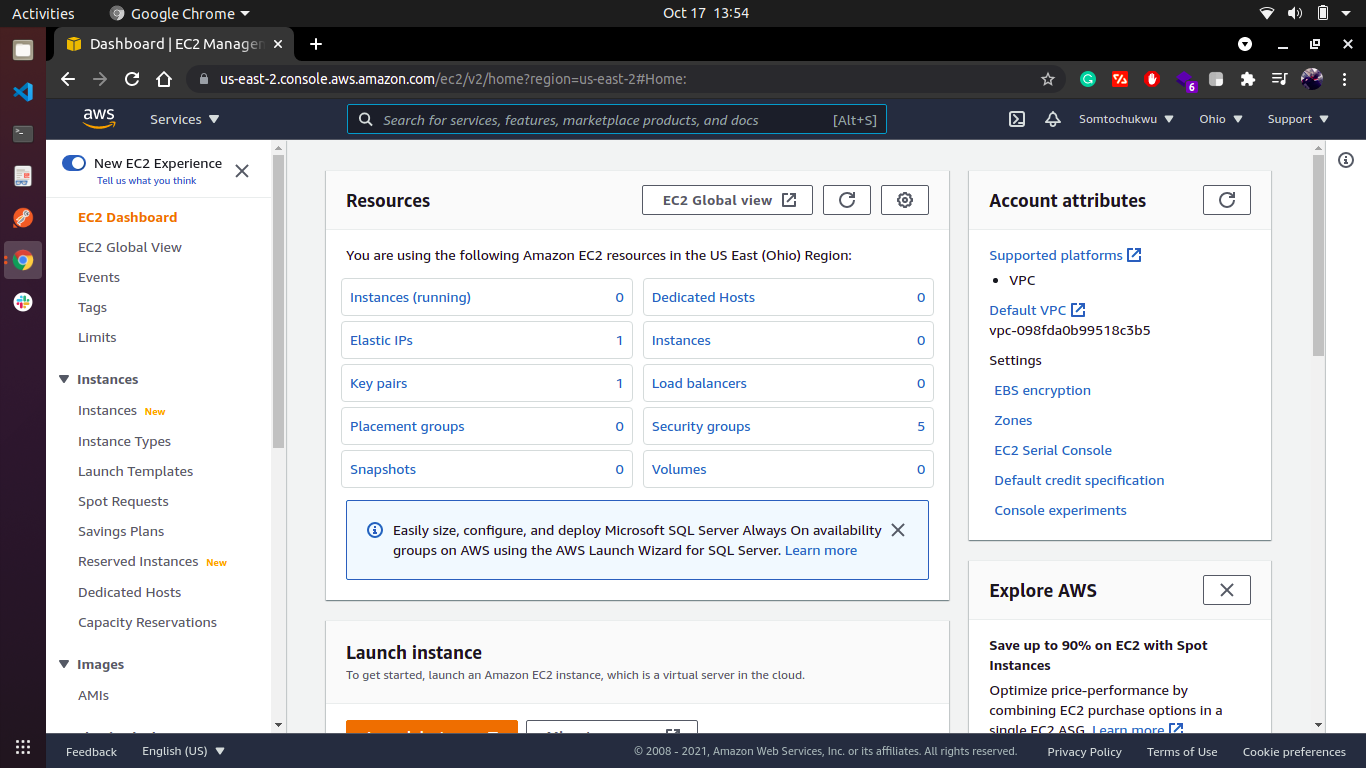
We first need to create a virtual machine using EC2 which is AWS virtual machine instances service. Navigate to the EC2 dashboard. If you can't locate it search for it in the search bar up top. When you locate it you will be greeted with this page.
Navigate to launch instance and click on it, go to the AWS marketplace by the menu by the side, and search for Kali Linux. Click on the first option. You would see a screen like this.
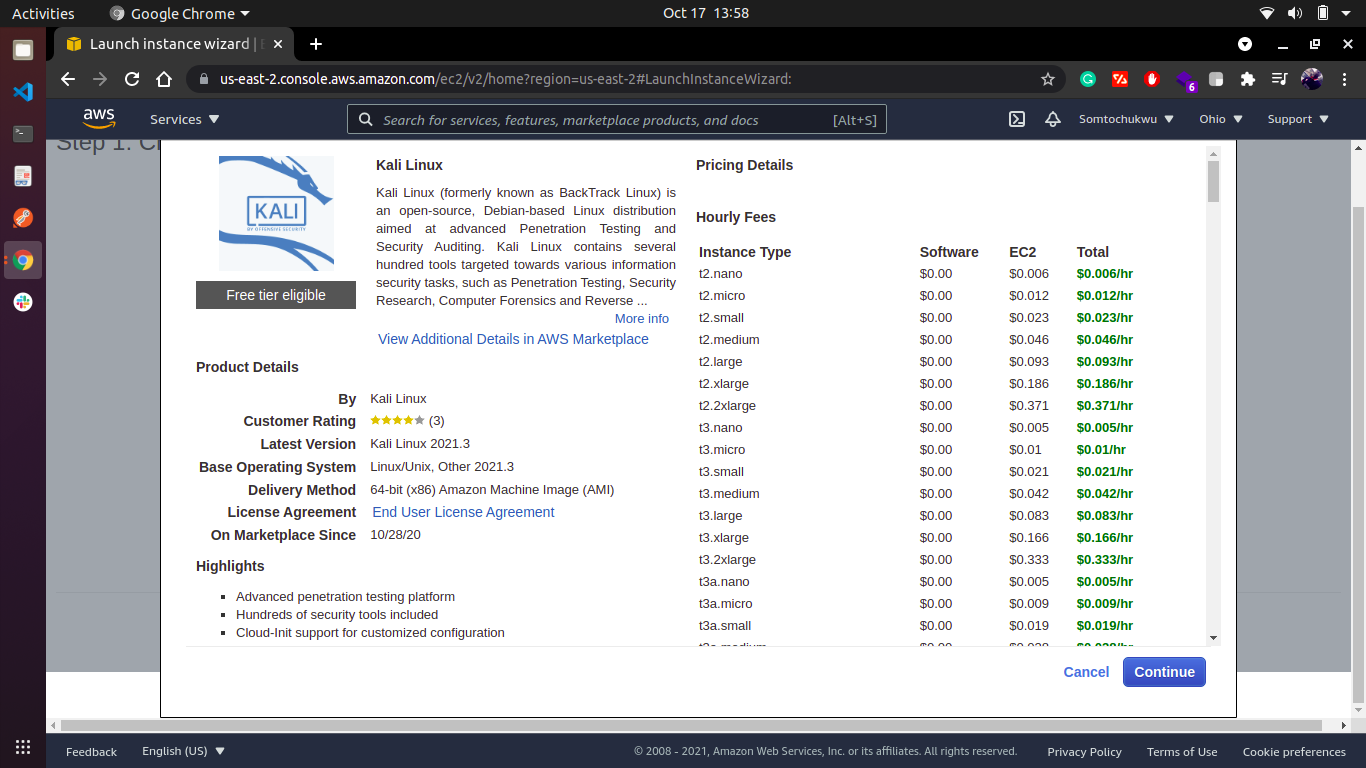
Click continue. On the next page, you would see some options to choose an instance type. Choose the second option with the type "t2.micro" because it's the free tier option which we will be going for, next, click on the "Review and launch button".
Now you can see a modal screen where it will prompt you to generate a key pair if you're just creating your AWS account for the first time. Go ahead and generate the keypair and also download the file, this is important because that will be your SSH key which we will use to remotely connect to your VM later on.
After downloading your ssh access key, continue the process. That should be all on creating your Kali Linux VM. Navigate to the EC2 screen and click on "instances" you should see a new instance there.
We have successfully created our Kali Linux virtual machine. Now let's connect to it. Go ahead and copy the public IPv4 address of your virtual machine. You can find it here.

Open your terminal, move to the directory where you downloaded your access key earlier, and type in this command.
ssh -i ec2instance.pem kali@<your public IPv4 address>
For example
ssh -i ec2instance.pem kali@3.138.155.218
What this command does is basically ssh into my virtual machine which has this public IP 3.138.155.218 as a user kali with ec2instance.pem as my passkey.
If you get an error like "Permission denied (publickey)." fear not all you just need to update permissions by running this command
chmod 400 yourshhkey.pem
This will ensure that your key is not publicly viewable, now run the command at the top and you're good to go.
Your terminal should look a bit like this.
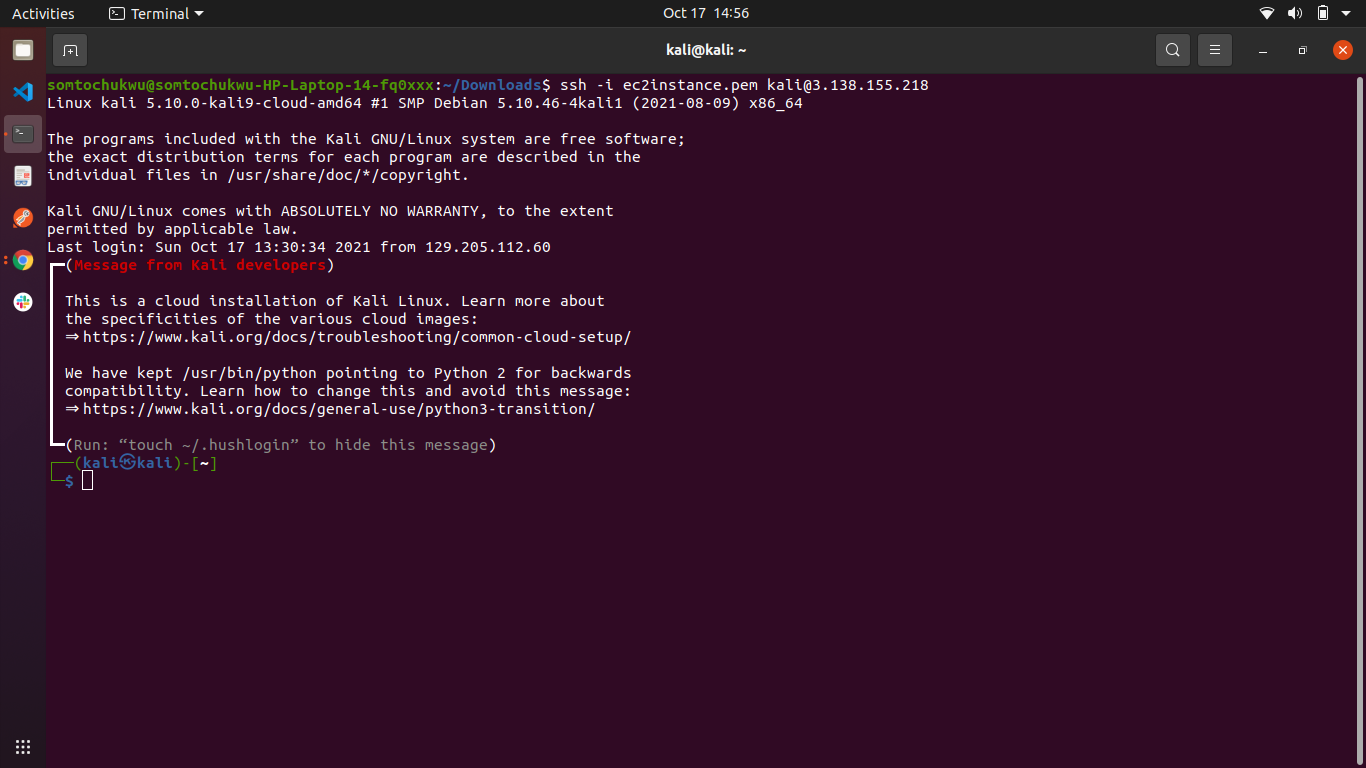
As you can see there weren't any complications or minor problems when creating the VM as opposed to if you were to do this by partitioning your hard drive and installing Kali Linux and so on. The best part is when you're done with using Kali or you just want to revert back to your old OS you can delete the Kali Linux VM.
You have successfully created a Kali Linux VM in the cloud using AWS and connecting to this VM via SSH. This was very interesting and resourceful. Now you have knowledge of an AWS resource like EC2 and what you can do with it. You can also create more virtual machines if you want, depending on the type of OS you want either Windows, Linux, or Mac.
Thank you for sticking around till the end. I hope you found this helpful. If you encountered any problems on the way or you want to contribute to the article please leave a comment in the comment section below. Cheers!


